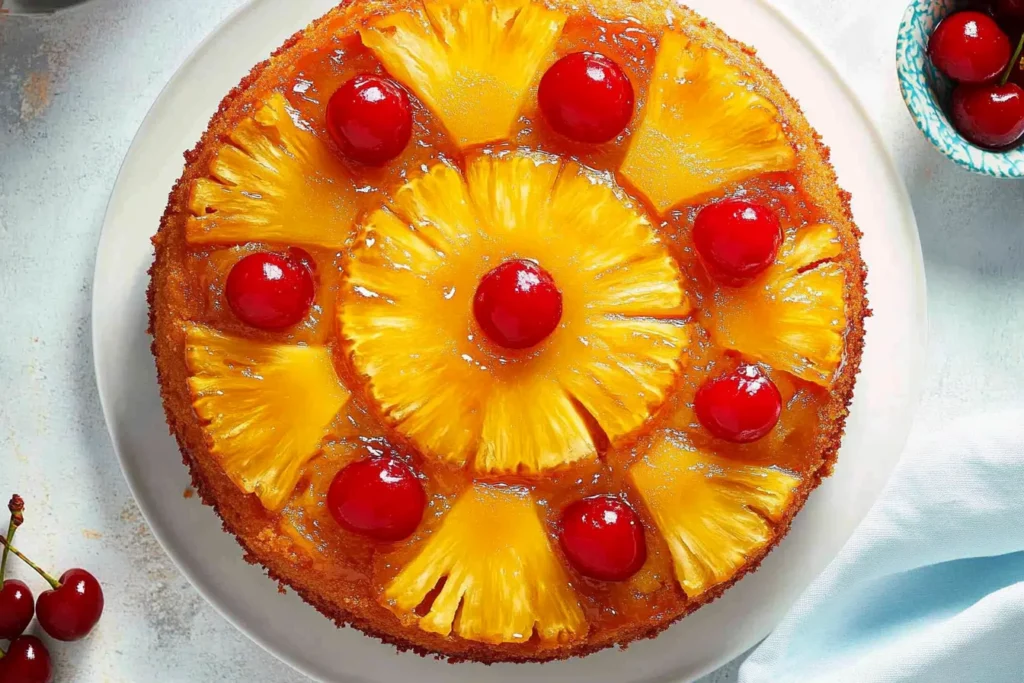
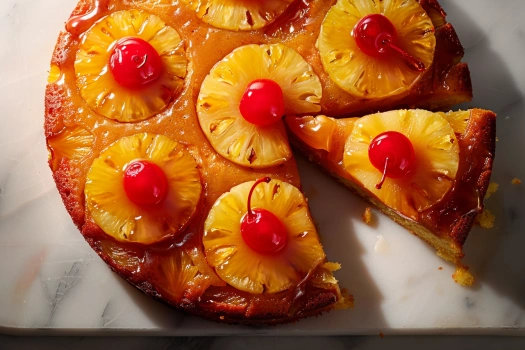
Bringing Back the Retro Fun!
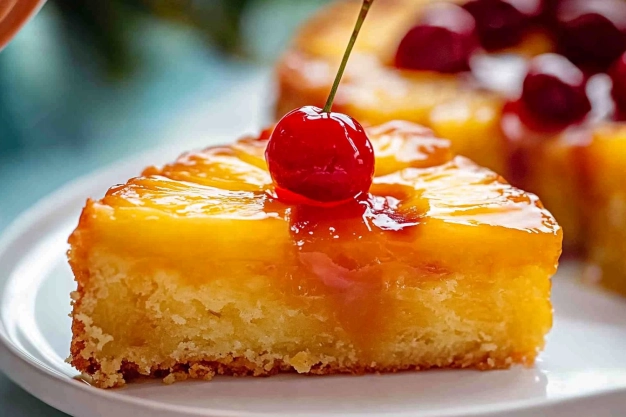
If you need a pop of color and a taste of nostalgia, this Pineapple Upside-Down Cake is the perfect treat. With its sticky, caramelized pineapple topping and ultra-moist vanilla cake infused with pineapple juice, this cake is both visually stunning and absolutely delicious. A slice of this cheerful cake is bound to bring a smile to your face!
Why You’ll Love This Recipe
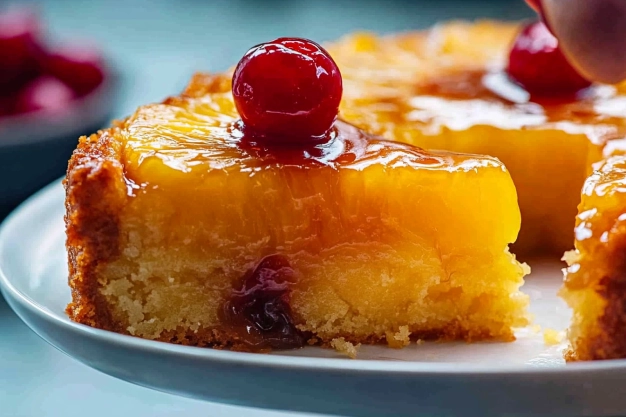
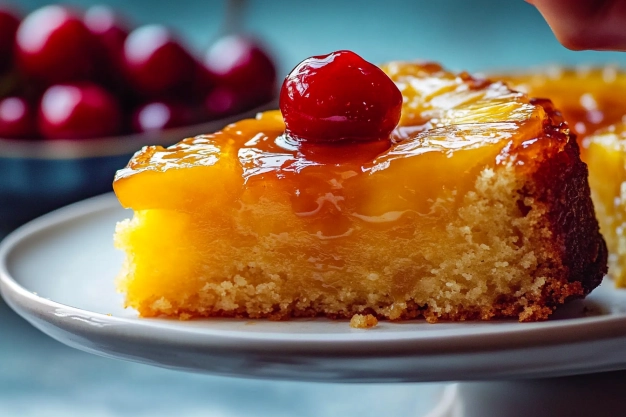
Moist and fluffy vanilla cake with juicy pineapple bits
Caramelized pineapple topping that’s both sweet and slightly tangy
Easy to make with simple pantry ingredients
A nostalgic favorite that never goes out of style!
Ingredients You’ll Need
For the Topping:
565g (20 oz) canned pineapple slices in juice (not syrup)
12 – 18 maraschino cherries
60g (4 tbsp) unsalted butter, melted
1/2 cup brown sugar
For the Cake:
1 1/2 cups all-purpose flour
1 tsp baking powder
1/4 tsp baking soda
1/4 tsp salt
1/3 cup milk
1/4 cup pineapple juice (reserved from the can)
1/4 cup sour cream (or plain yogurt)
1 tsp vanilla extract
115g (1 stick) unsalted butter, softened
3/4 cup white sugar
2 large eggs, room temperature
Any leftover pineapple, chopped
Step-By-Step Instructions
Step 1: Prepare the Topping
Preheat oven to 180°C/350°F (160°C fan-forced)
Pat dry the pineapple slices and cherries with paper towels
Brush melted butter over the bottom and sides of a 9-inch (23cm) cake pan
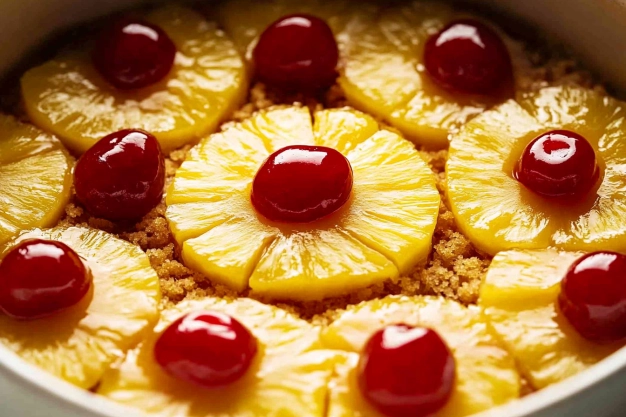
Sprinkle brown sugar evenly over the butter
Arrange pineapple slices over the sugar. Fill gaps with halved pineapple pieces if needed
Place cherries in the center of each pineapple ring and any empty spaces
Step 2: Make the Cake Batter
Whisk together flour, baking powder, baking soda, and salt in a bowl
In another bowl, mix milk, sour cream, pineapple juice, and vanilla extract
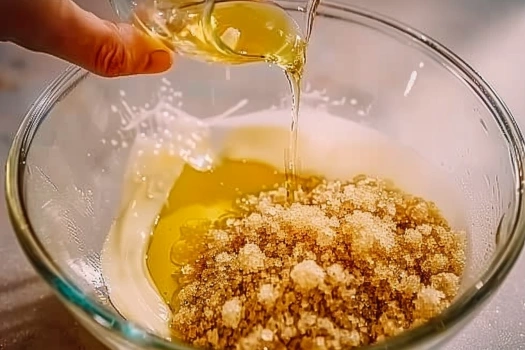
In a third bowl, cream butter and sugar until light and fluffy
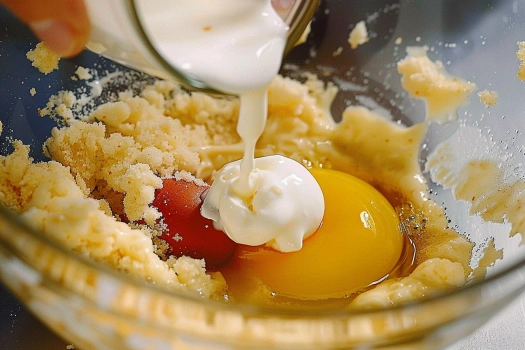
Add eggs one at a time, beating well after each addition
Gradually fold in the dry ingredients, alternating with the milk mixture
Gently stir in the chopped pineapple
Step 3: Assemble and Bake
Pour the batter over the pineapple topping and spread evenly
Bake for 30 minutes uncovered
Cover with foil and bake for another 15 minutes, or until a toothpick inserted in the center comes out clean
Cool for 20 minutes before flipping onto a plate
Flip confidently, lift the pan slowly, and reveal your beautiful upside-down cake
Pro Tips for Perfect Pineapple Cake
Pat fruit dry to avoid excess moisture making the cake soggy
Use room-temperature butter and eggs for a smooth batter
Don’t overmix the batter to keep the cake light and fluffy
Cool before flipping to ensure a clean release
Serving Suggestions
Serve warm with a scoop of vanilla ice cream for a creamy contrast
Drizzle caramel or butterscotch sauce over the top for added indulgence
Pair with a dollop of whipped cream for a light, airy touch
Enjoy with a cup of coffee or tea for a comforting treat
For a tropical twist, serve with a side of coconut whipped cream
FAQs for Pineapple Cake Recipe
Yes, but extract some juice from it to replace the canned juice. Fresh pineapple may be more acidic, so adjust the sugar accordingly
Absolutely Store it in an airtight container in the fridge for up to 5 days. Bring it to room temperature before serving for the best flavor and texture
Excess moisture from the fruit can cause this. Pat the pineapple slices and cherries dry before use, and don’t add extra juice beyond what the recipe specifies
Yes Use a gluten-free 1:1 baking flour blend that contains xanthan gum, or add 1/2 teaspoon separately for better texture
Properly butter the pan
Press pineapples and cherries firmly in place
Let the cake cool for 20 minutes before flipping
Run a knife along the edges to loosen it
No because the caramelized butter and sugar will leak. A standard 9-inch round cake pan with a 2-inch depth works best
Related Recipes You’ll Love
Try these delicious cakes next:
Red Velvet Cream Cheese Bundt Cake
Final Thoughts
This Pineapple Upside-Down Cake is a timeless classic that’s fun to make and even more delightful to eat. Whether for a weekend treat or a nostalgic gathering, it’s sure to impress. Give it a try and let me know in the comments how it turned out
Pin this recipe on Pinterest for later
Print